Kitchen Remodel Planning, Step by Step
A smooth remodel is planned in phases, not improvised week by week. This roadmap takes you from first ideas to final walkthrough, so you know what happens next at every stage.
Kitchen Remodel Planning Hub
Phase one: define the job before you call anyone
The most expensive remodel mistake is starting with a contractor instead of a brief. Write down what frustrates you about the current kitchen, what must change, what would be nice, and what you will not touch — that list becomes the spine of every later decision.
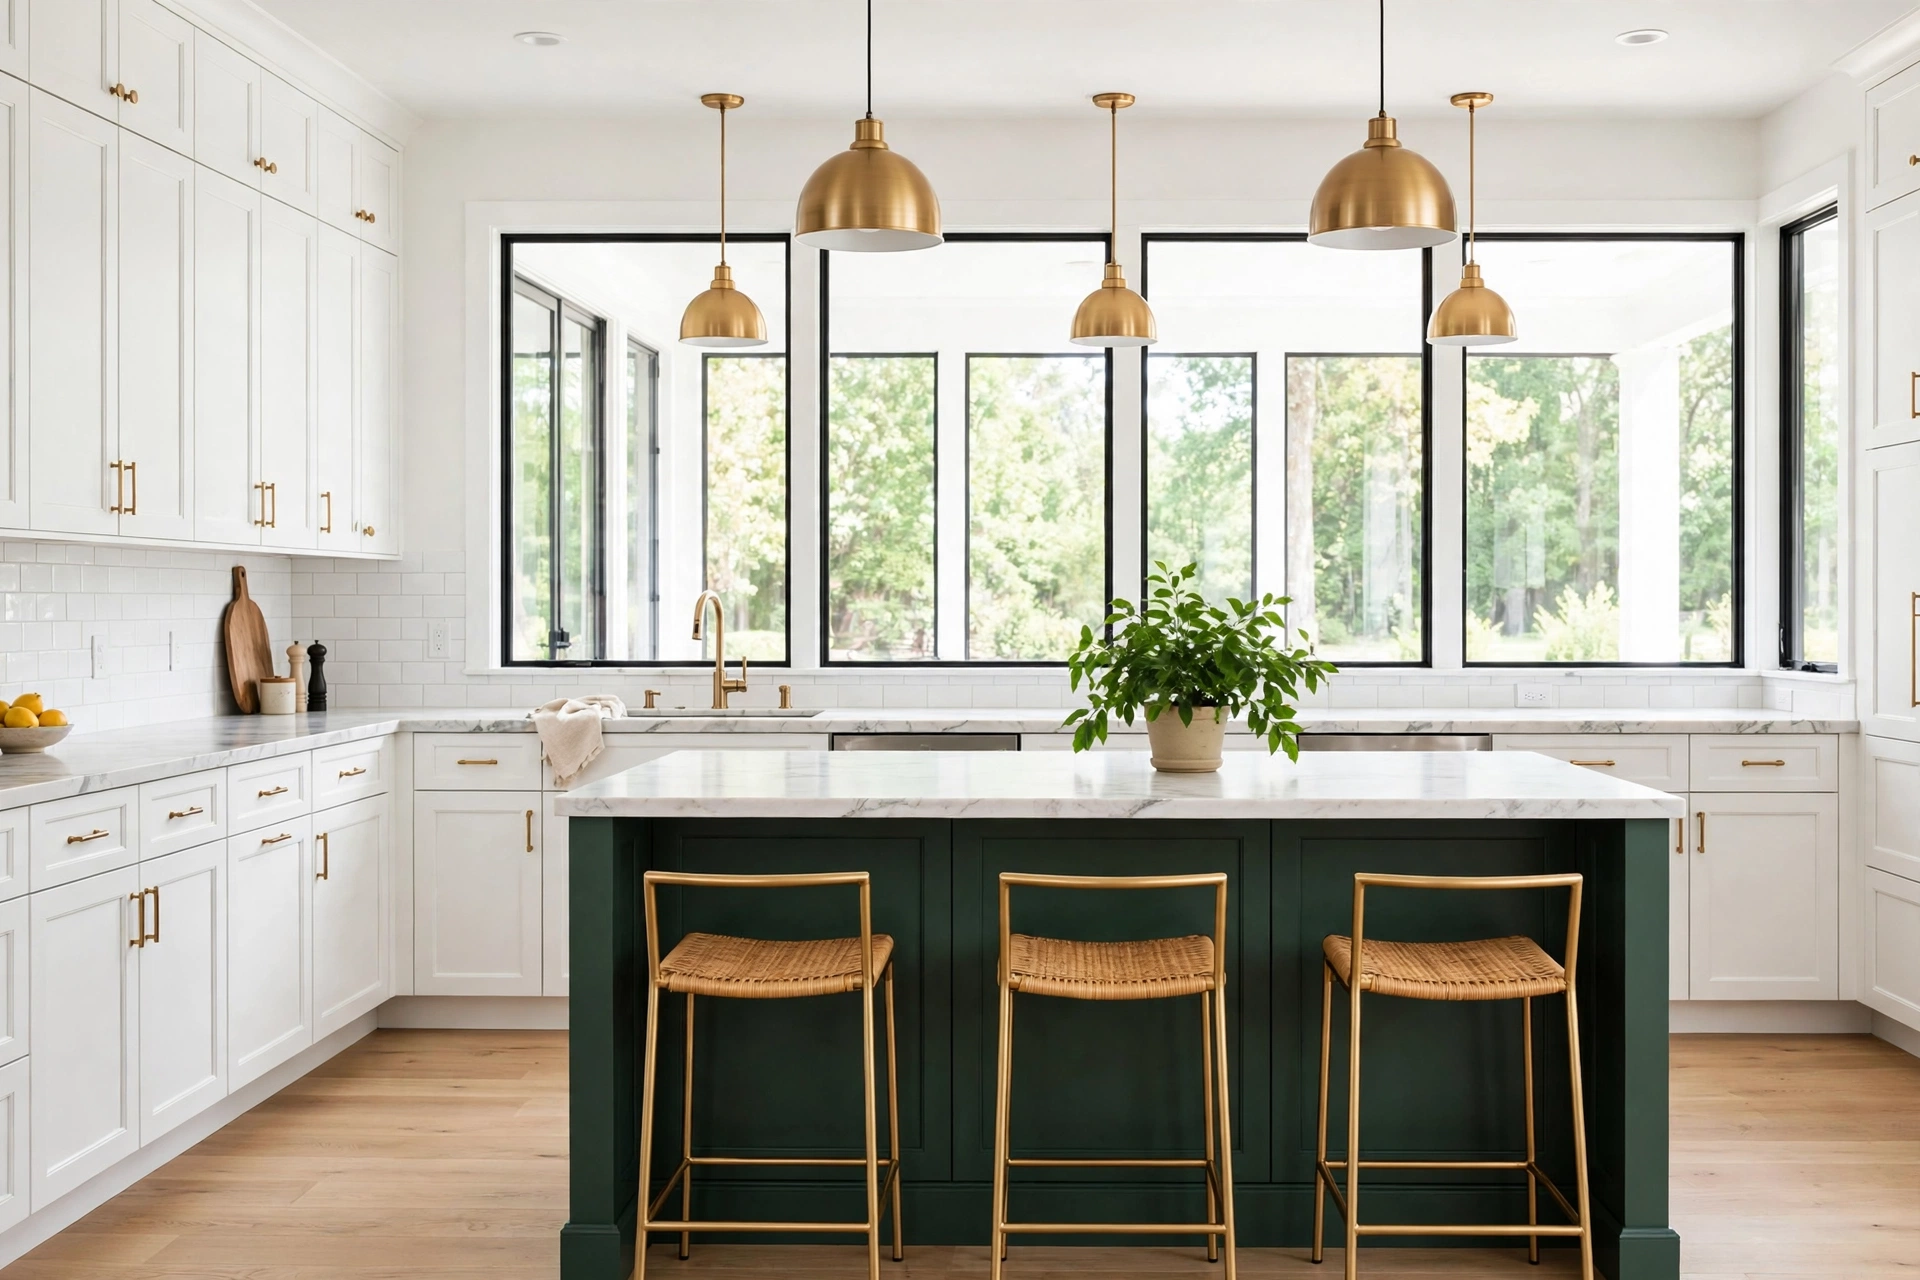
Gather inspiration with a skeptical eye. Photos show finished rooms, not the layout changes, budgets, or timelines behind them. Note what you like about each photo — the light, the storage, the openness — rather than copying the room wholesale.
Phase two: design and scope
Design starts with measurements, not materials: wall lengths, window heights, door swings, and the positions of plumbing and electrical. A designer who measures first and picks finishes second is building a plan that fits your room rather than forcing your room to fit a catalog.
The output of this phase is a written scope: layout, cabinet construction, counter material, flooring, lighting, and finishes, each listed so quotes compare apples to apples. Approve the scope before demolition — changing layout on paper is free, changing it mid-project is not.
Phase three: permits and prep
Structural, plumbing, and electrical changes often need permits, and the rules vary by city — check early, since permit timelines affect the whole schedule. Condos and HOA homes add another layer of approvals worth starting sooner rather than later.
Ordering comes next. Cabinets and specialty materials carry lead times, and a project that starts demolition before cabinets are on order risks weeks of dead time. Confirm delivery dates in writing before the first wall comes down.
Phase four: demolition and rough work
Demolition is fast and loud. Rough work is slow and hidden. Framing, plumbing, and electrical move first, and inspections happen at this stage — treat them as protection, not delay, since they catch problems while fixes are still cheap.
This is the phase where hidden conditions surface: old wiring, uneven floors, or plumbing that needs updating. A scope that named these as possibilities keeps the conversation calm when they appear.
Phase five: cabinets, counters, and finishes
Installation follows a strict order: cabinets first, leveled and secured, then countertop templating measured against the installed cabinets — never against plans alone. That order is why counters fit exactly instead of approximately.
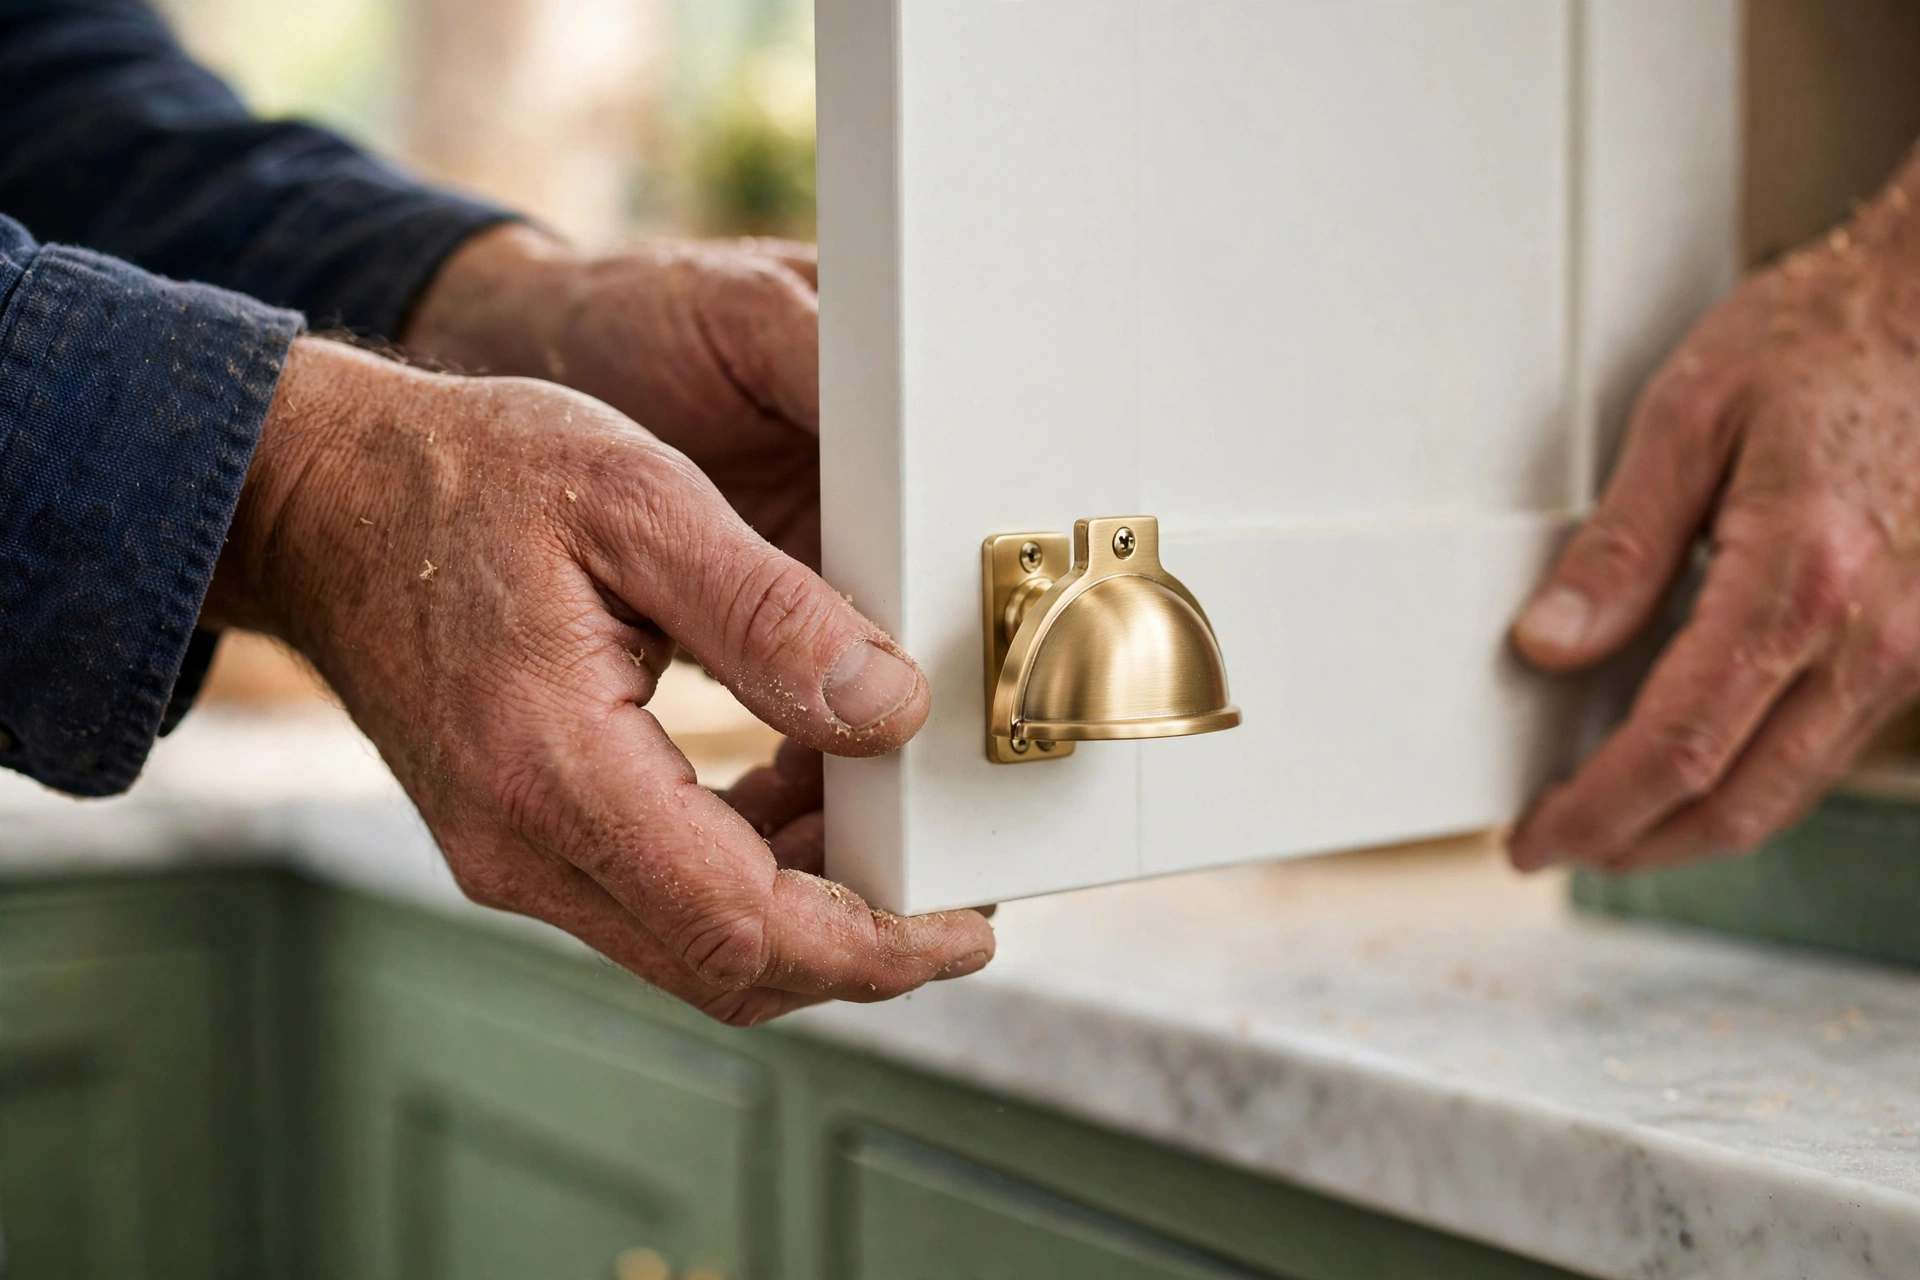
Flooring, backsplash, painting, and hardware follow, each protecting the work before it. Resist the urge to rush this phase. Finishes installed carefully now are the surfaces you will touch every day for years.
Living through a remodel without losing your mind
Set up a temporary kitchen before demolition: a fridge, a microwave, a coffee station, and a washing-up spot in another room. Plan simple meals for the messy weeks and keep one room dust-free as a retreat.
Agree a communication rhythm with your crew — a weekly check-in, a single point of contact, and decisions in writing. Most remodel stress comes from uncertainty, not from dust, and a short weekly update removes most of it.
The final walkthrough: what to check
Walk the finished kitchen slowly: open every door and drawer, check soft-close action, look at seams and grout lines in daylight, test every outlet, tap, and appliance, and note paint touch-ups while the crew is still on site.
Write every defect on a punch list and agree when each will be fixed before final payment. A thorough walkthrough is not confrontation — it is the last step of the job, and good crews expect it.
Choosing and briefing your crew
The brief you wrote in phase one becomes your most useful hiring tool. Share it with every crew you consider, and compare how each responds: do they ask follow-up questions about layout and storage, or jump straight to finishes? Crews that probe the brief usually plan better, because they are designing for your kitchen rather than selling a package.
Ask for recent kitchens similar in scope to yours, and look at them with a critical eye: drawer alignment, seam placement, paint finish in corners, and how the crew left the site. Also ask how change orders work and how the punch list is handled, in writing, before work starts. Vague answers on scope, payment tied to nothing, or pressure to decide on the spot are all reasons to keep looking.
Budget tracking during the project
A remodel budget lives or dies on tracking, not on the initial estimate. Keep a simple sheet with three columns: the original allowance for each item, the actual selection cost, and the running difference. When a selection runs over, you see it immediately and can offset it elsewhere, instead of discovering the overrun at the final invoice.
Log every change order the same way, with its cost and its effect on the schedule, and tie payments to completed milestones rather than calendar dates. Keep a small holdback until the punch list is complete — not as leverage, but as the normal closeout step that makes sure the last details get the same attention as the first ones.
After the remodel: care and settling
New kitchens settle in the first months: hinges need small adjustments as doors find their weight, caulk lines may need a touch-up after temperature swings, and grout benefits from a sealing routine matched to its type. Schedule a short check-in with your crew after the first season, and note anything that needs attention while it is still fresh.
Keep a small project file for the finished kitchen: paint colors and finish codes, grout and caulk types, appliance manuals, and a spare box of tiles or a spare door if you ordered one. Future repairs and touch-ups become simple errands instead of detective work, and the next owner will thank you for a file that answers questions before they are asked.
Working with designers versus going direct
A kitchen designer earns their fee on the decisions you cannot see: clearances, work zones, storage math, and the order of trades. Showroom designers often bundle design with a cabinet order, while independent designers sell plans you can take to any crew. The right fit depends on how much design help you want and how much control you want to keep.
Going direct to a crew works best when the scope is small and the layout stays put — a refacing job, a countertop swap, or a cosmetic refresh. Larger projects with moved walls or plumbing benefit from a drawn plan before anyone demolishes, since a plan on paper catches problems that are expensive to catch mid-project. Either way, insist on a written scope before work starts.
Common planning pitfalls and how to dodge them
The most common pitfall is measuring once. Appliance specs, cabinet dimensions, and countertop templates each deserve their own verification, since a fridge that is an inch too wide or a dishwasher panel ordered to the wrong depth stalls the finish phase. Measure twice, order once, and confirm delivery dimensions in writing.
Decision fatigue is the quieter pitfall. A remodel demands dozens of choices — finishes, hardware, fixtures, grout colors — and choosing them all in one weekend leads to rushed picks you later regret. Spread decisions across the planning phase, decide one category per sitting, and lock each choice in the written scope so it stops reopening.
Related services
Services in this hub
Deeper reading
Guides in this hub
- How to Plan a Kitchen Remodel: Step-by-Step Guide
- Do I Need a Permit for a Kitchen Remodel?
- 7 Costly Kitchen Remodel Mistakes to Avoid
- Kitchen Remodel Timeline: How Long Each Phase Takes (2026)
- 12 Questions to Ask a Kitchen Contractor (2026)
- What's the Best Time of Year to Remodel a Kitchen?
- How Much Does It Cost to Move Plumbing in a Kitchen Remodel?
Explore more hubs
More kitchen hubs
Top cities: Louisville, KYColumbus, OHCincinnati, OHDayton, OH
Good to know
Kitchen Remodel Planning Hub FAQs
It depends on scope: a cosmetic refresh moves quickly, while a full layout change with permits and custom orders takes considerably longer. Your written scope should include a realistic schedule for your exact project.
It depends on the work and your city. Structural, plumbing, and electrical changes commonly need permits, while surface-only updates often do not. Check with your local building department early.
Design and scope first, then permits and ordering, then demolition and rough work, then cabinets, countertop templating, and finishes — with a final walkthrough and punch list to close the job.
Many households stay with a temporary kitchen set up elsewhere in the home. Full gut renovations with no working kitchen push more households to stay elsewhere for the messiest weeks.
Every door and drawer, seams and grout lines in daylight, outlets, taps, and appliances, and paint touch-ups — all written on a punch list with agreed fix dates.